Configuring keys

This StreamDeck application allows you to configure each of the buttons of Stream Deck to send a specific key combination to Best Practice. This will work both for the local application and for remote desktop.

Each button can be assigned a key press (like "a", or "ctrl+shift+a"), which will be repeated after pressing the button. The documentation for this and an example video can be found at the Elgato support pages.

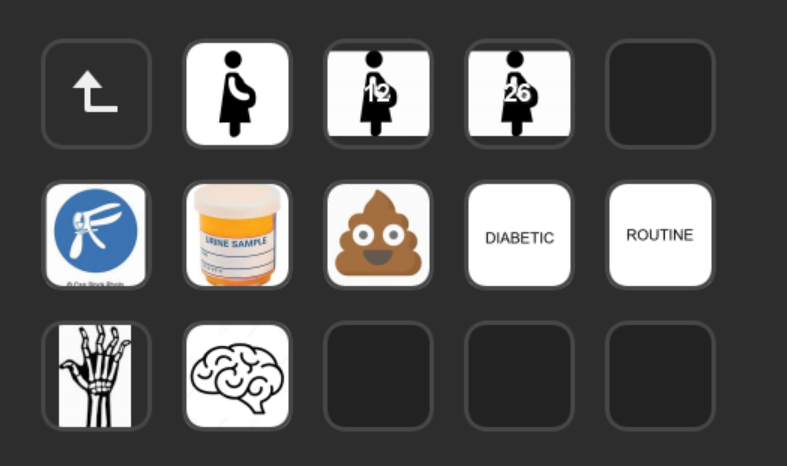
Each button may also be assigned a small relevant image. For example like these screens:

For the AutoIT shortcuts to work on the remote desktop, StreamDeck must be configured to simulate a key press. To do that, you need to assign the "HotKey" action (in the "System" category on the right) to a button and assign the corresponding shortcut key. For example if the configured action has fields "Ctrl" and "Shift" checked and the key "a" selected, then the StreamDeck hotkey should send "Ctrl+Shift+a" to activate that action.

Which key combination is chosen is not really important as long as it doesn't conflict with any other shortcuts in the system / application. Ctrl+Shift and Ctrl+Alt+Shift combinations are safe and should give 92 possible actions.

This configuration is not specific to the provided shortcuts and the keys can be assigned to some actions provided directly by BestPractice or Windows. For example "F2" can be assigned to a button as a hotkey to trigger patient search. Or a text input can be assigned to trigger specific autofills.

One key combination is always reserved - "Ctrl+Shift+t" will always stop the shortcuts application.

Troubleshooting

If some action doesn't work as expected please check the following first:

  1. If the shortcuts application doesn't start at all, verify that the icon next to the au3 files looks like this: . If it does not, right-click one of them, select "open with", select "always use this app" and search for the autoit file. (most likely present at "C:\Program Files (x86)\AutoIt3\autoit3.exe").
  2. Does loading the set of scripts work: try to start your shortcuts file twice. If you get a message that the shortcuts are already loaded, everything's fine. If not, you may be starting the wrong file. Or if there's another error, AutoIT may be not installed.
  3. Make sure all fields in an action are filled in. For example marking results requires the keyboard key it's going to use and the inbox actions.
  4. If you updated your configuration, ensure the latest version is loaded. Download the configuration file, terminate the current one (ctrl+shift+t), double-click the new configuration.
  5. To make sure the new action works without StreamDeck press the configured key combination on your keyboard. If nothing happens, make sure the right window is activated - for example marking results works only with the inbox open. If nothing happens, something's wrong with the configuration (check the configured key combination).
  6. If the activation using keyboard worked, check the key combination assigned to the streamdeck hotkey matches the one configured on the page. (refer to the videos for examples)
  7. Finally, if nothing else works, or you get an explicit error message, let us know via email. Please attach your configuration file and an explanation of what you expected to happen and what happened instead. Make sure to copy the error message if any appeared. Screenshots of the issue are welcome, but please make sure to remove personal and medical information.

Shortcut action descriptions

Mark results

(in the inbox/results window)

The selected action and result will be chosen in the results window. Then, the "Next" button will be clicked.

Additionally you can add a reminder or action to this result by selecting the relevant checkbox and filling out the reason and an optional comment. The delay for action is specified in days.

Referral Letter

(in the patient screen)

A new referral will be created. When the windows appears, the template matching the name you provided will be chosen. The configured template name should match exactly the template name in the visible list.

If you filled in the address field, it will be used to add a receipient (first entry matching provided prefix will be used).

Imaging Request

(in the patient screen)

This action will create a new imaging request for the patiend. It will fill out the type of imaging, the region and optionally the details and receipient.

If you filled in the address field, it will be used to add a receipient (first entry matching provided prefix will be used).

Pathology Request

(in the patient screen)

It will create a new pathology request, then choose the requested test from the list. (the name has to match exactly) It may fill out the details and required fasting as well.

If you filled in the address field, it will be used to add a receipient (first entry matching provided prefix will be used).

Store document in

(in the results inbox screen)

Selects where to store the document. (Investigations, Correspondence in, or Clinical Imaging)

Open spreadsheet

(works everywhere)

Opens the MS Excel application with the given spreadsheet. This action is useful if you're using a remote desktop, otherwise you can use "Open file" action directly in streamdeck.

The file path can be found by right-clicking the spreadsheet file, copying its location, backslash ("\") and its file name. For example: "L:\some folder\my spreadsheet.xlsx".

Send to Medical Objects

(works in any text field)

Copies all the text in the current document or text field. (equivalent to pressing "ctrl-a" to select everything and "ctrl-c" to copy) Then, it activates the Medical Objects application and pastes the copied contents.

Print to PDF

(works in windows with print to PDF option)

Many windows in BestPractice have an option to print contents (usually) of letters to PDF. This action activates that menu option.

Start Chrome

(works everywhere)

This action starts Chrome browser. It's useful when working with remote desktop - locally you can configure an application to start directly from streamdeck instead.

Start Outlook

(works everywhere)

This action starts Outlook. It's useful when working with remote desktop - locally you can configure an application to start directly from streamdeck instead.

Mark result imported

(in the follow up inbox)

This action will record a note on an incoming result. The contact type will be set to face-to-face and a note will be added saying:

"This result was imported from patient's previous clinic file and was not communicated to the patient by (configured name)"

Then the "Mark result as given" button will be clicked.

Vaccinate

(in the patient screen)

This action will process immunisation. There are different sections of the process which can be enabled separately to handle different scenarios. The available steps are:

Fill notes

The provided notes text (or an autofill phrase) will be added to "Today's notes" in the patient's window. If the reason is filled in, that reason will be added to the visit.

Add immunisation

The vaccinations section will be opened in the patient window. The provider, vaccination site, batch, and vaccine fields will be filled with the provided text. The provider in this case is the name with the location added in parentheses. For example "Dr John Smith (Main Surgery)", exactly as it's listed in the immunisation dropdown.

Bill visit

If the 10997 option is enabled, the "Billing history" window will be opened. If the patient has been billed any of 721, 723, 732, 92024, 92068, 92025, 92069, 92028, 92072 items in the last year, a 10997 item will be added to this visit.
The extra chosen item number will be billed in every case.

Reminder

If the reminder option is enabled, a reminder of the given type will be added with the default configured interval. Also any text can be added to the reminder comment.

Close patient

After the previous actions, the patient window will be closed.

Move to billing

When closing the patient window, if BestPractice asks whether to move the patient to billing and this action is selected "Yes" will be chosen. If not selected "No" will be chosen.

Read more details